Summer Break – New Release – Polka Dot Orchard

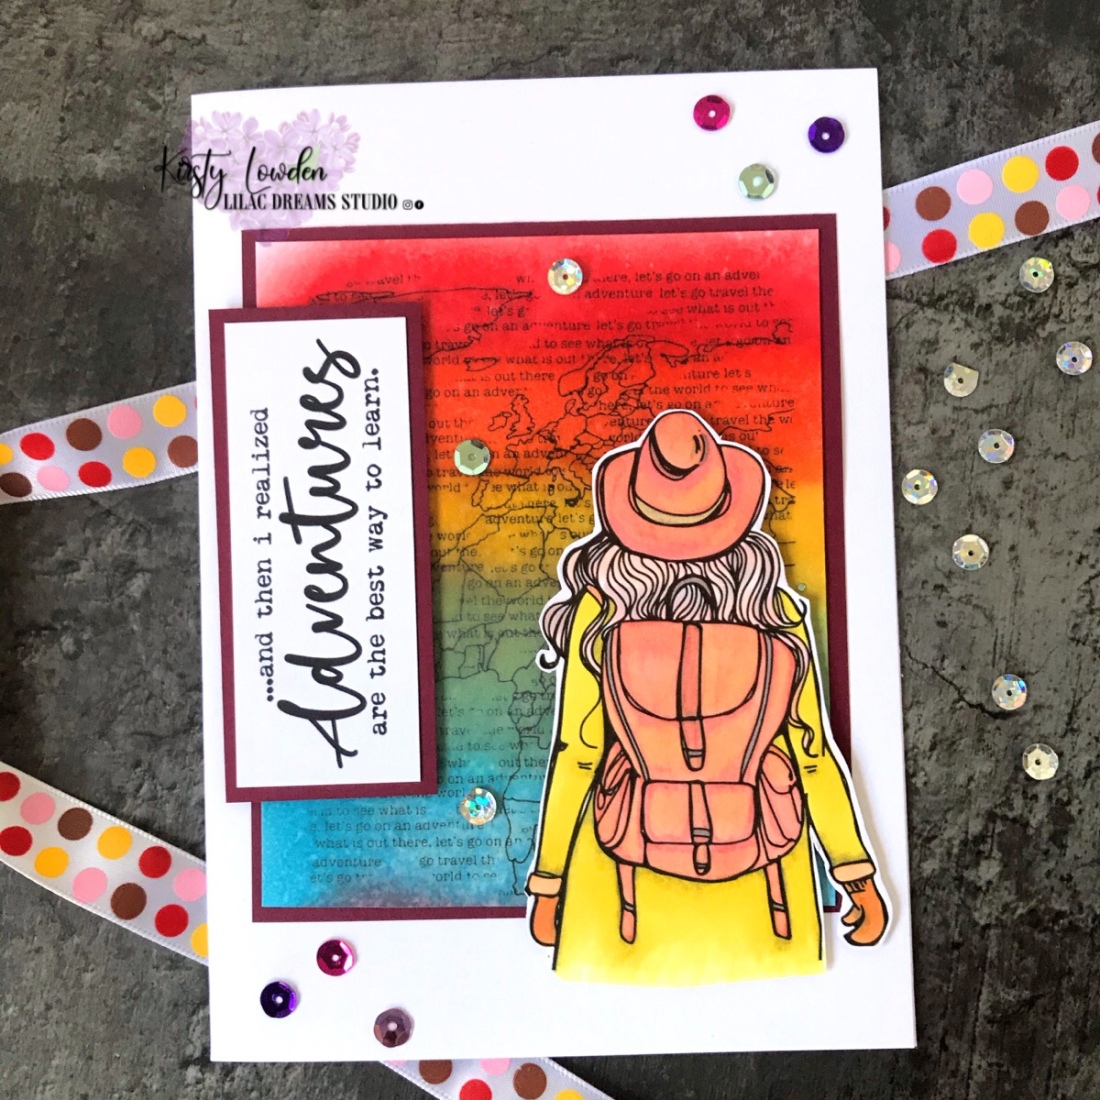
Hello to all my crafty friends! I have made a quick slimline card using elements from the new release Summer Break from Polka Dot Orchard

I printed the {Say It Slim} element onto vellum, this printed perfectly for my card measuring 8.5” by 3.5”

Next I used a free photo editing app to create my background of love hearts and then printed off onto white smooth 300gsm cardstock from PaperMill Direct.

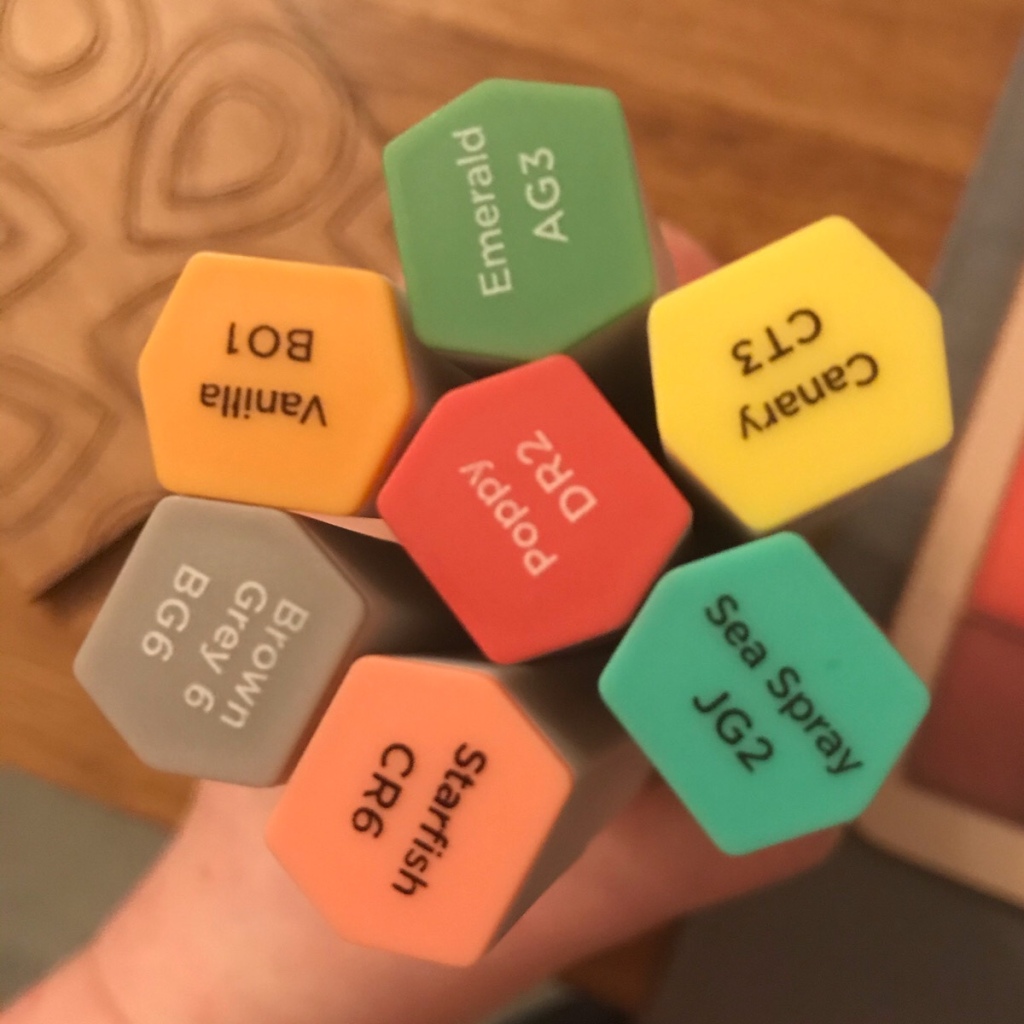
Next, I coloured in the hearts with Promarkers:

  • Magenta
  • Rose Pink
  • Pink Carnation
  • Sunflower
  • Lemon
  • Soft Lime

I then cut my card and vellum and adhered to card base using double sided tape.

Here is my completed card.

This digital set is on sale right now. I’d love to see what creations you come up with.

Explore the world Girl

Hi friends, we may still be unsure about going travelling abroad the moment but it doesn’t stop us from dreaming, does it. I’ve made a card using digital stamps from Angie Blom Digital Designs Explore the world, Girl and Lets go travel backgrounds

My card was so quick and easy to create. I printed off the background and ink blended using Distress Inks to create a rainbow coloured background 🌈

Then I coloured in the girl with my Spectrum Noir Illustrator Pens. Fussy cut her out.

Added a plum card to my travel background and adhered to 5”x7” card base. Added foam tape to my girl and positioned her on my card, finished off with some sequins and added sentiment from the same set ‘and then I realized Adventures are the best way to learn’. I think that sentiment is just perfect for my card.

Hope this gives you some inspiration to get inky.

Stay safe my friends, see ya next time 😘

Birthday Monsters

Hi there! I hope you are all having a good week! Today I wanted to show you all a quick card that I’ve made using some cute monster critters.

I used a photo editor app to create my scene using the digital stamp set Birthday Monsters once I was happy with my scene I printed onto smooth white card from PaperMill Direct. I used the confetti piece from the set to print onto PaperMill Direct vellum.

Next, I coloured those cute critters, bunting and cake using my spectrum noir illustrator pens.

Cut my card down to measure 4.5” x 6.5” attached my vellum on the back of my card using double sided tape. Only adhered to one side so that my vellum piece opened like a book.

Next I cut blue card from my stash to measure 4.7” x 6.7”. Attached my front then adhered to 5” x 7” card base.

Happy birthday lil’ monster is a sentiment from the same set, I have used this as an inside quote for my card. Here is my finished card.

I hope this inspires you to get inky and make some fun birthday cards.

Stay safe and keep crafting!

Did you know you can use Inkjet Printer on Gelli Plate Prints!!!

Hi friends, I wanted to share a technique that I have just came across, while chatting to some crafting friends over on the Creative Team. I’ve never thought of trying this before and I’m so happy with the results.

To make my card I got out my gelli plate and brayer, used Acrylic Paints in Oranges, yellow and Mixing White. I love adding texture to my prints so got out some bubble wrap and dabbed some texture using the mixing white. Pulled my print on Sheena Douglas Stamping Card 300gsm. There is lots of videos on YouTube showing how to use a gelli plate.

I set aside to dry and once completely dry I popped my print into my inkjet printer face down and printed Background 4 of Honeycomb Backgrounds onto my white card. Then I layered onto black cardstock and mounted onto 5”x7” Kraft card base.

I printed off the scene from Sweet Like Honey and coloured in with my Promarkers using

  • Spice
  • Peach
  • Soft Peach
  • Black
  • Canary
  • Cinnamon
  • Raw Sienna
  • Ice Grey 5,3,1
  • Blender Pen

I had printed off the scene twice so I could fussy cut them both and layer ontop each other. Then put some foam tape on the back to add dimension to all the bees and the honeycomb. I printed off the sentiment and used the stencil designed by Angie Blom (BeeCandy) to create honeycombs over my sentiment. I blended Ripe Persimmon and Mustard Seed Distress Ink. Layered onto black card and added foam tape to adhere.

Here’s my completed card. What do you think. I’m in love with the fact I can now make my own prints then run them through my printer 🥰❤️

That’s all from me today. I would love to know your comments. Thanks for stopping by and take care ❤️. Kirsty

My first Christmas card of 2021

Hello, I’ve been thinking recently of starting to get my Christmas cards started especially as we are at the end of April, I mean whoa!! 😱😳 I think this year is going by soooo quickly!! So today I made a really quick card. Read on for more details….

I have used a green scalloped card base measuring 5” x 7”. The candy cane background is digital papers from Polka Dot Orchard which I printed onto photographic card. The adorable sock monkey, sentiment and stocking is also from Polka Dot Orchard. I printed them onto papermill direct smooth gsm white card.

I used my Promarkers to colour sock monkey and stocking.

  • Walnut
  • Burnt Sienna
  • Raw Sienna
  • Cardinal Red
  • Berry Red
  • Ice Grey 5,4,3,2,1
  • Blender Pen

I used glue pen to apply glitter to stocking and hat then sprinkled Nuvo Pure Sheen Glitter. Added some Christmas green ribbon, added foam tape to sentiment, sock monkey, stocking and embellishments. Here is my finished card.

I am adding this card into the Spring into Christmas Hop over at Build Your Stash Holiday Cardmakers. I’d love to see what Christmas makes you have started on.

Stay safe, thanks for joining me and happy crafting

Kirsty

You’re The Best – New Release – Polka Dot Orchard

Hello and welcome. I’m so happy as Scotland is opening its shops today as lockdown is easing further. I’m glad as I can now meet friends and family now, even go out for a coffee. Very excited.

I’ve got a quick card to show you so let’s jump right in.

I printed the digital floral stamp and chose the sentiment I think of you often for my card and printed them both of onto same card. I used Papermill Direct Smooth White 300gsm cardstock.

Coloured in the floral image with Arteza Brush Pens in

  • Elephant Gray
  • Apricot
  • Honey
  • Cantaloupe
  • Lemon Yellow
  • Forest Green
  • Pine Green
  • Shamrock Green
  • Pale Green
First layer of colour going on.

I done 2 layers of colour to really make the flowers and colours stand out. Then I created a border of 4.5cm and masked off that line with masking tape so I could create a black background using Noir from Arteza Brush Pens.

Next I made another line of 6mm and covered in glue from a Glue Pen then poured Nuvo Pure Sheen Glitter in Glitter Rose Gold over it, tapped off the excess and let it dry. Adhered to card base and my card is completed.

The black background really makes the card ‘POP’

I hope you like my card and it inspires you to get creative and inky.

Stay safe 🌈 and keep well 🌼 🌸

Kirsty – Facebook – Lilac Dreams Studio

Instagram – Lilac Dreams Studio

Beautiful Poppies

Welcome and thank you for stopping by my blog. It’s been several months since I last card crafted and I have missed it. I had to take a step back due to my mental health, so I’m taking things very easy the now.

To help me get me creative juices going again I wanted to create something with poppies, in particular Icelandic poppies, they have so many different colours which I love.

I have used my Spectrum Noir Illustrators to colour the poppies

I created some splatters with gouache, added some Nuvo Drops and gold glitter Washi tape to complete my card

I hope you all have a wonderful day. Stay safe. Kirsty 🌸

New Stencil Release-Polka Dot Orchard

You can click here to take you direct Dolly Doily

Hi friends and Happy Tuesday! I am so happy I have a couple of cards I’m sharing with the new stencil.

This card is so simple to make, I chose Memento Dye Inks in Morocco and Potter’s Clay. Blended with my blending brushes, layered onto gold card and Kraft card base. Added sentiment and sequins to embellish.

For this card I chose Distress Inks in Chipped Sapphire, Evergreen Bough, Ripe Persimmon and Seedless Preserves.

Thanks My Friend

I took the sentiments from the set Thanks My Friend for both cards.

For my last card I have used the Dolly Doily Stencil in a different way. I have used part of the Stencil to add pattern to my card.

Like A Sister

Flowers are my favourite to colour and I absolutely love this set. I used my Promarkers to colour – French Navy, Cyan, Arctic Blue, Sky Blue, Powder Blue, Aubergine, Violet, Lilac, Lush Green, Forest Green and Meadow Green.

For the stencil I used Distress Ink in Tumbled Glass. Layered onto burgundy card and added some sequins to finish.

I hope you all like my cards, I would love to know your comments and Polka Dot Orchard SALE is still on (at time of this publishing).

Happy crafting and keep safe my friends!

Kirsty 🌸

Picture Perfect Day-18th birthday card

Hi friends, Sharing a card that I’ve made using the sweet digital stamp Picture Perfect Day from Angie Blom Digital Designs

I was asked to make an 18th birthday card for a young woman whom loved being glam. As soon as I saw this digital stamp I knew this was the one to use. I paired it up with a stencil designed by Angie Blom and available through Polka Dot Orchard called With Love

The sentiments were taken from the same stamp set. Coloured in with my Promarkers. My choices of colours were taken from Colour Blend Charts from Kit and Clowder these are available to anyone, especially if you are wanting to learn how to colour.

Ink used for stencilling was Altenew Crisp Dye Ink in Rubellite. I love how my card finished up.

Thanks for stopping by and happy crafting

Kirsty 🌸

Check out the new Say-It-Slim stamps from Polka Dot Orchard

Hi friends, today I have been able to play with the new stamp set range which has been designed by Lea Ingle Keisling. I am so excited with their new range as I was able to make 3 different cards in one day.

The new set Oh Happy Day is released by Polka Dot Orchard and it’s part of the Birthday Sale with a massive 37% off.

There are more of these Say It Slim stamp sets coming out very soon and I can’t wait to see what’s coming. These sets make excellent cards with lots of usability. Here are the cards that I’ve made today.

For the bottom two cards, I printed the stamp onto vellum. Created 2 backgrounds, one with balloons and the other with the bunting. Coloured in with all my blue shades of Promarker pens.

All these cards were simple to make and are suited for both male and female cards.

I hope you’ve got some inspiration from my projects today and I’d love to hear from you.

Thanks for stopping by and happy crafting

Kirsty 🌸